For the modules «Vorgehensmodelle» and «Interface Design», we did a three-day case study, where we had to design an interface.
Day 1: Scenarios, Personas, Paper prototype and Expert Review
We were asked to design the interface for a photo printer placed on a train station where users can get their photos done immediately. We got requirements for the interface and hardware specifications as part of the preparation for the case study.
From the two given scenarios, we derived ad-hoc personas (as Constantine’s User roles, and key path scenarios (Goodwin)).
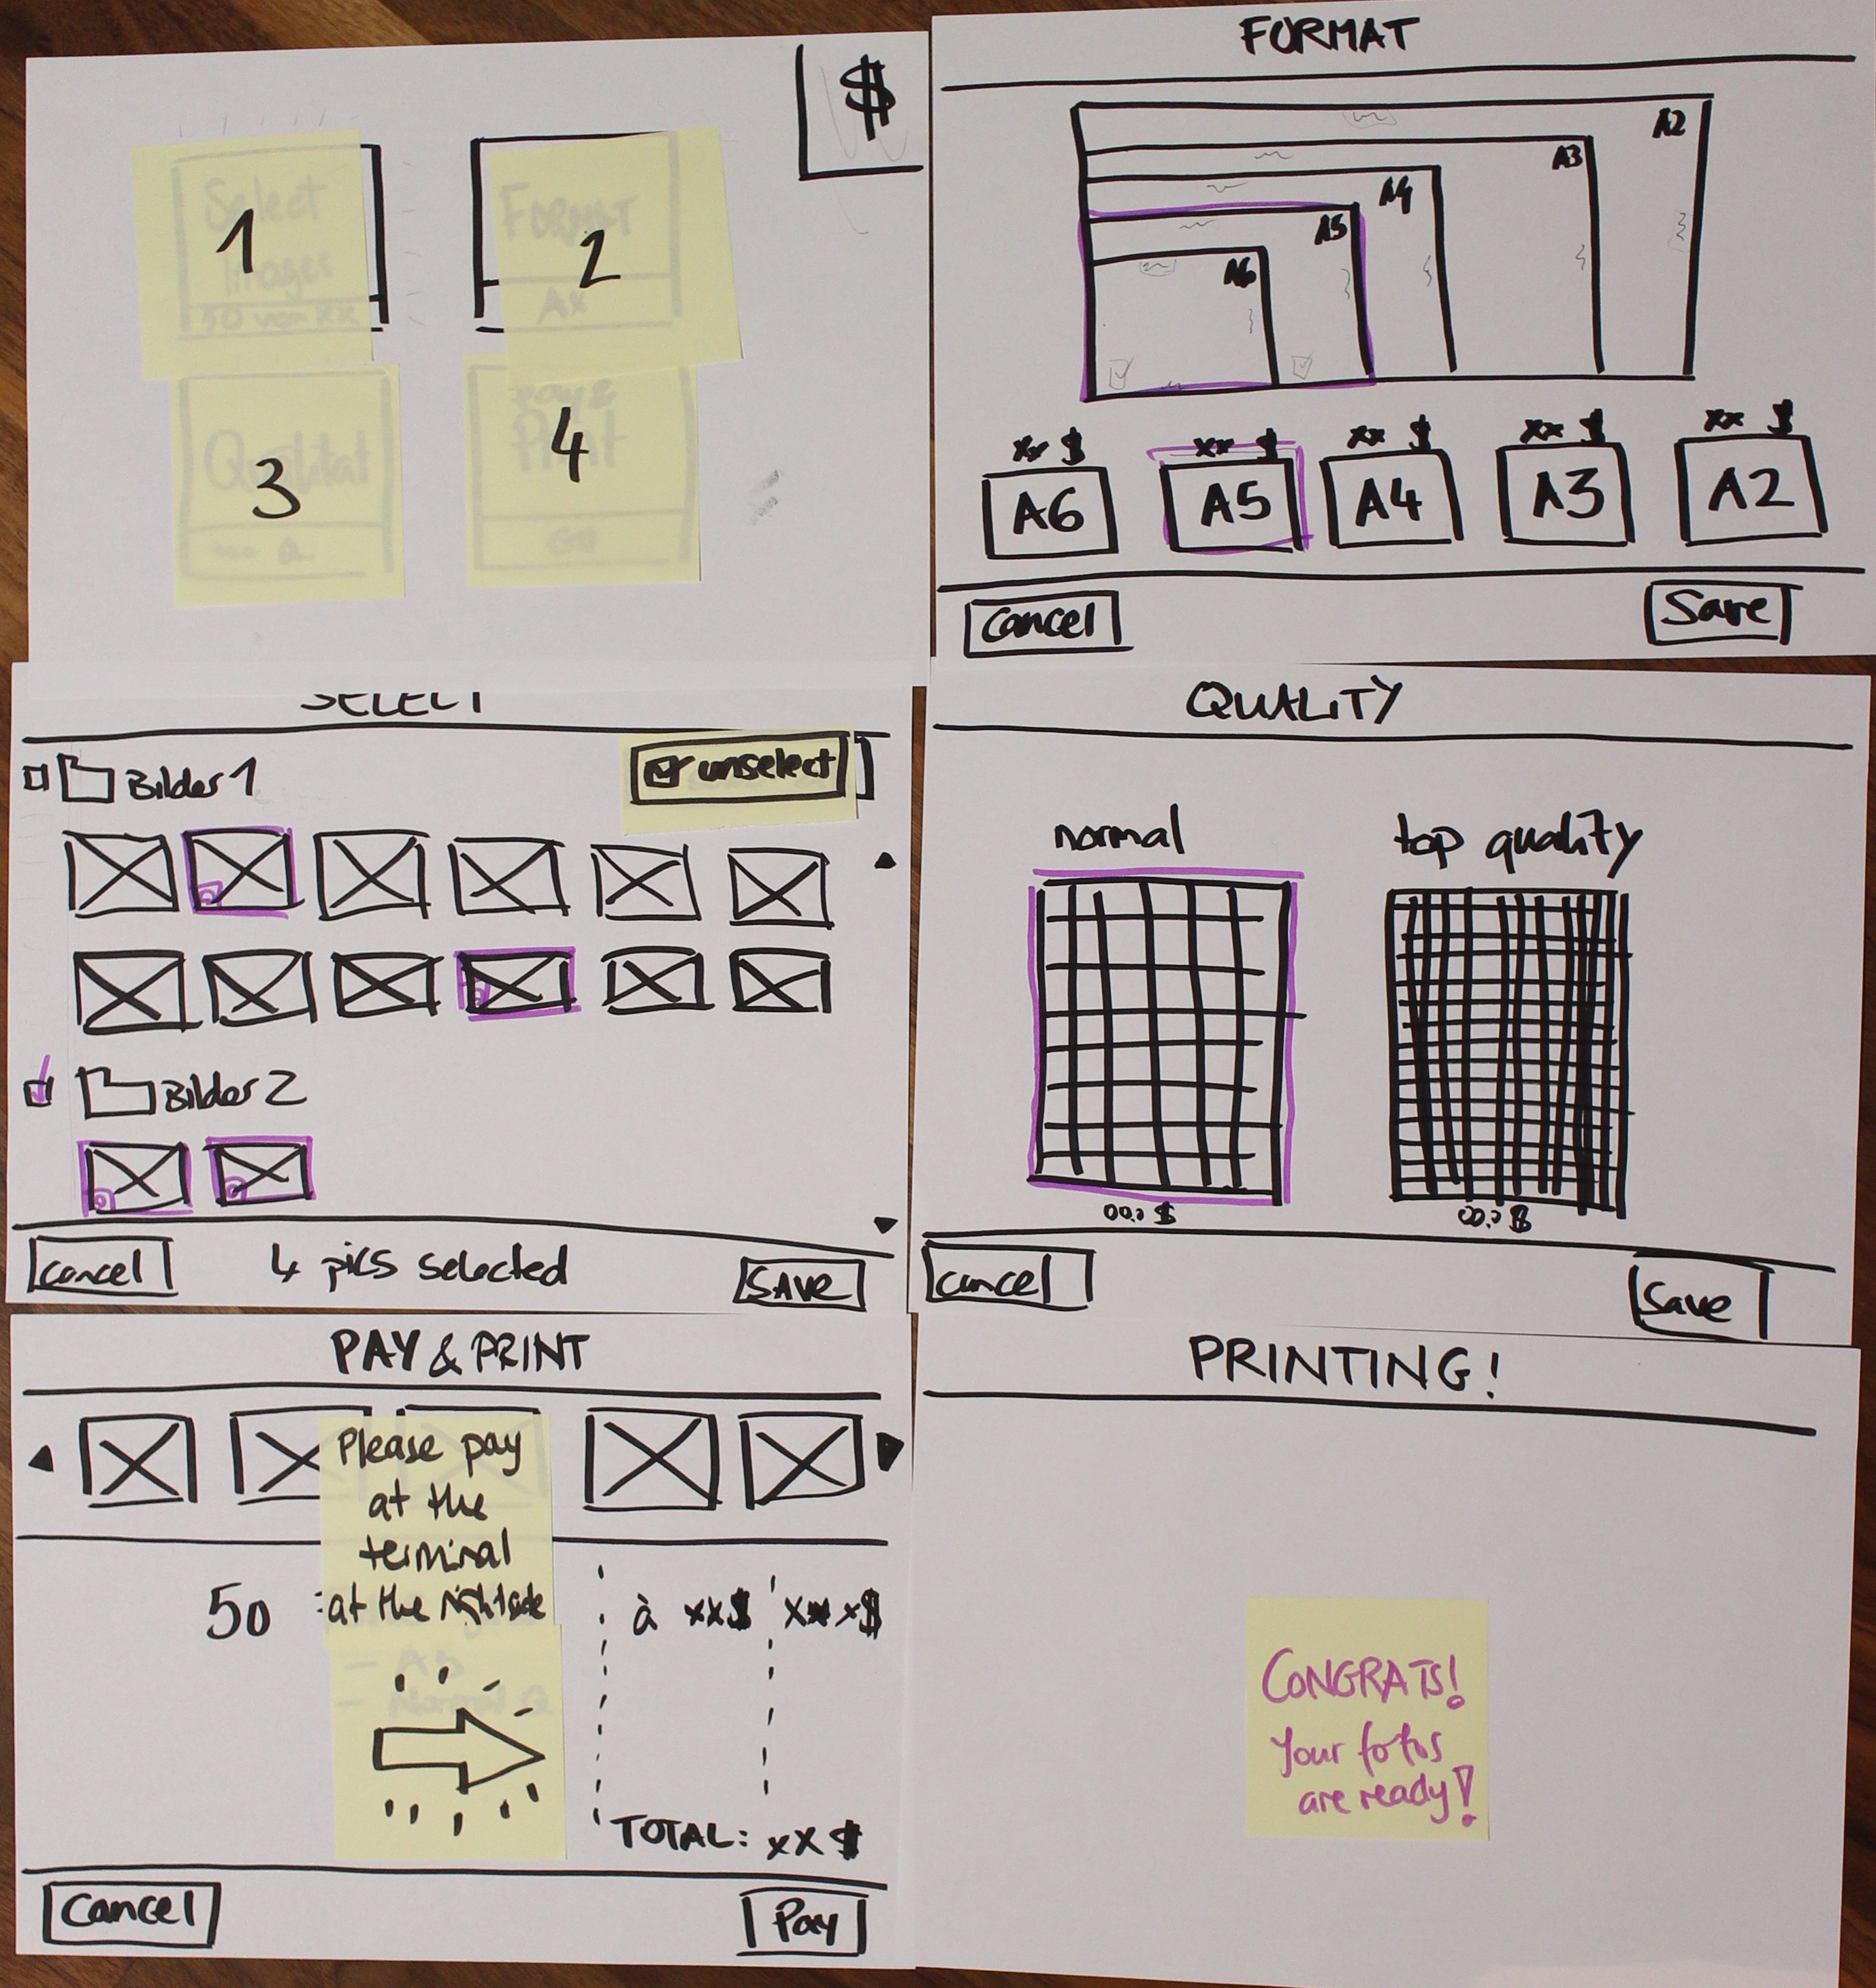
After that, we start sketching. Every member of the team produced three possible versions, we reviews all of them and decided to produce one paper prototype based in one of our ideas with some variations taken from the other versions. The paper prototype was reviewed by an expert at the end of the day.
Day 2: Axure Prototype and User Testing
The next step was to create the wireframes. Using Axure we produce a first version which was tested on an iPad by several of our classmates. Fotoprint Interface 1.0
With the feedback we refined our prototype and produced a second version: Fotoprint Interface 2.0
Day 3: Interface and Visual Design
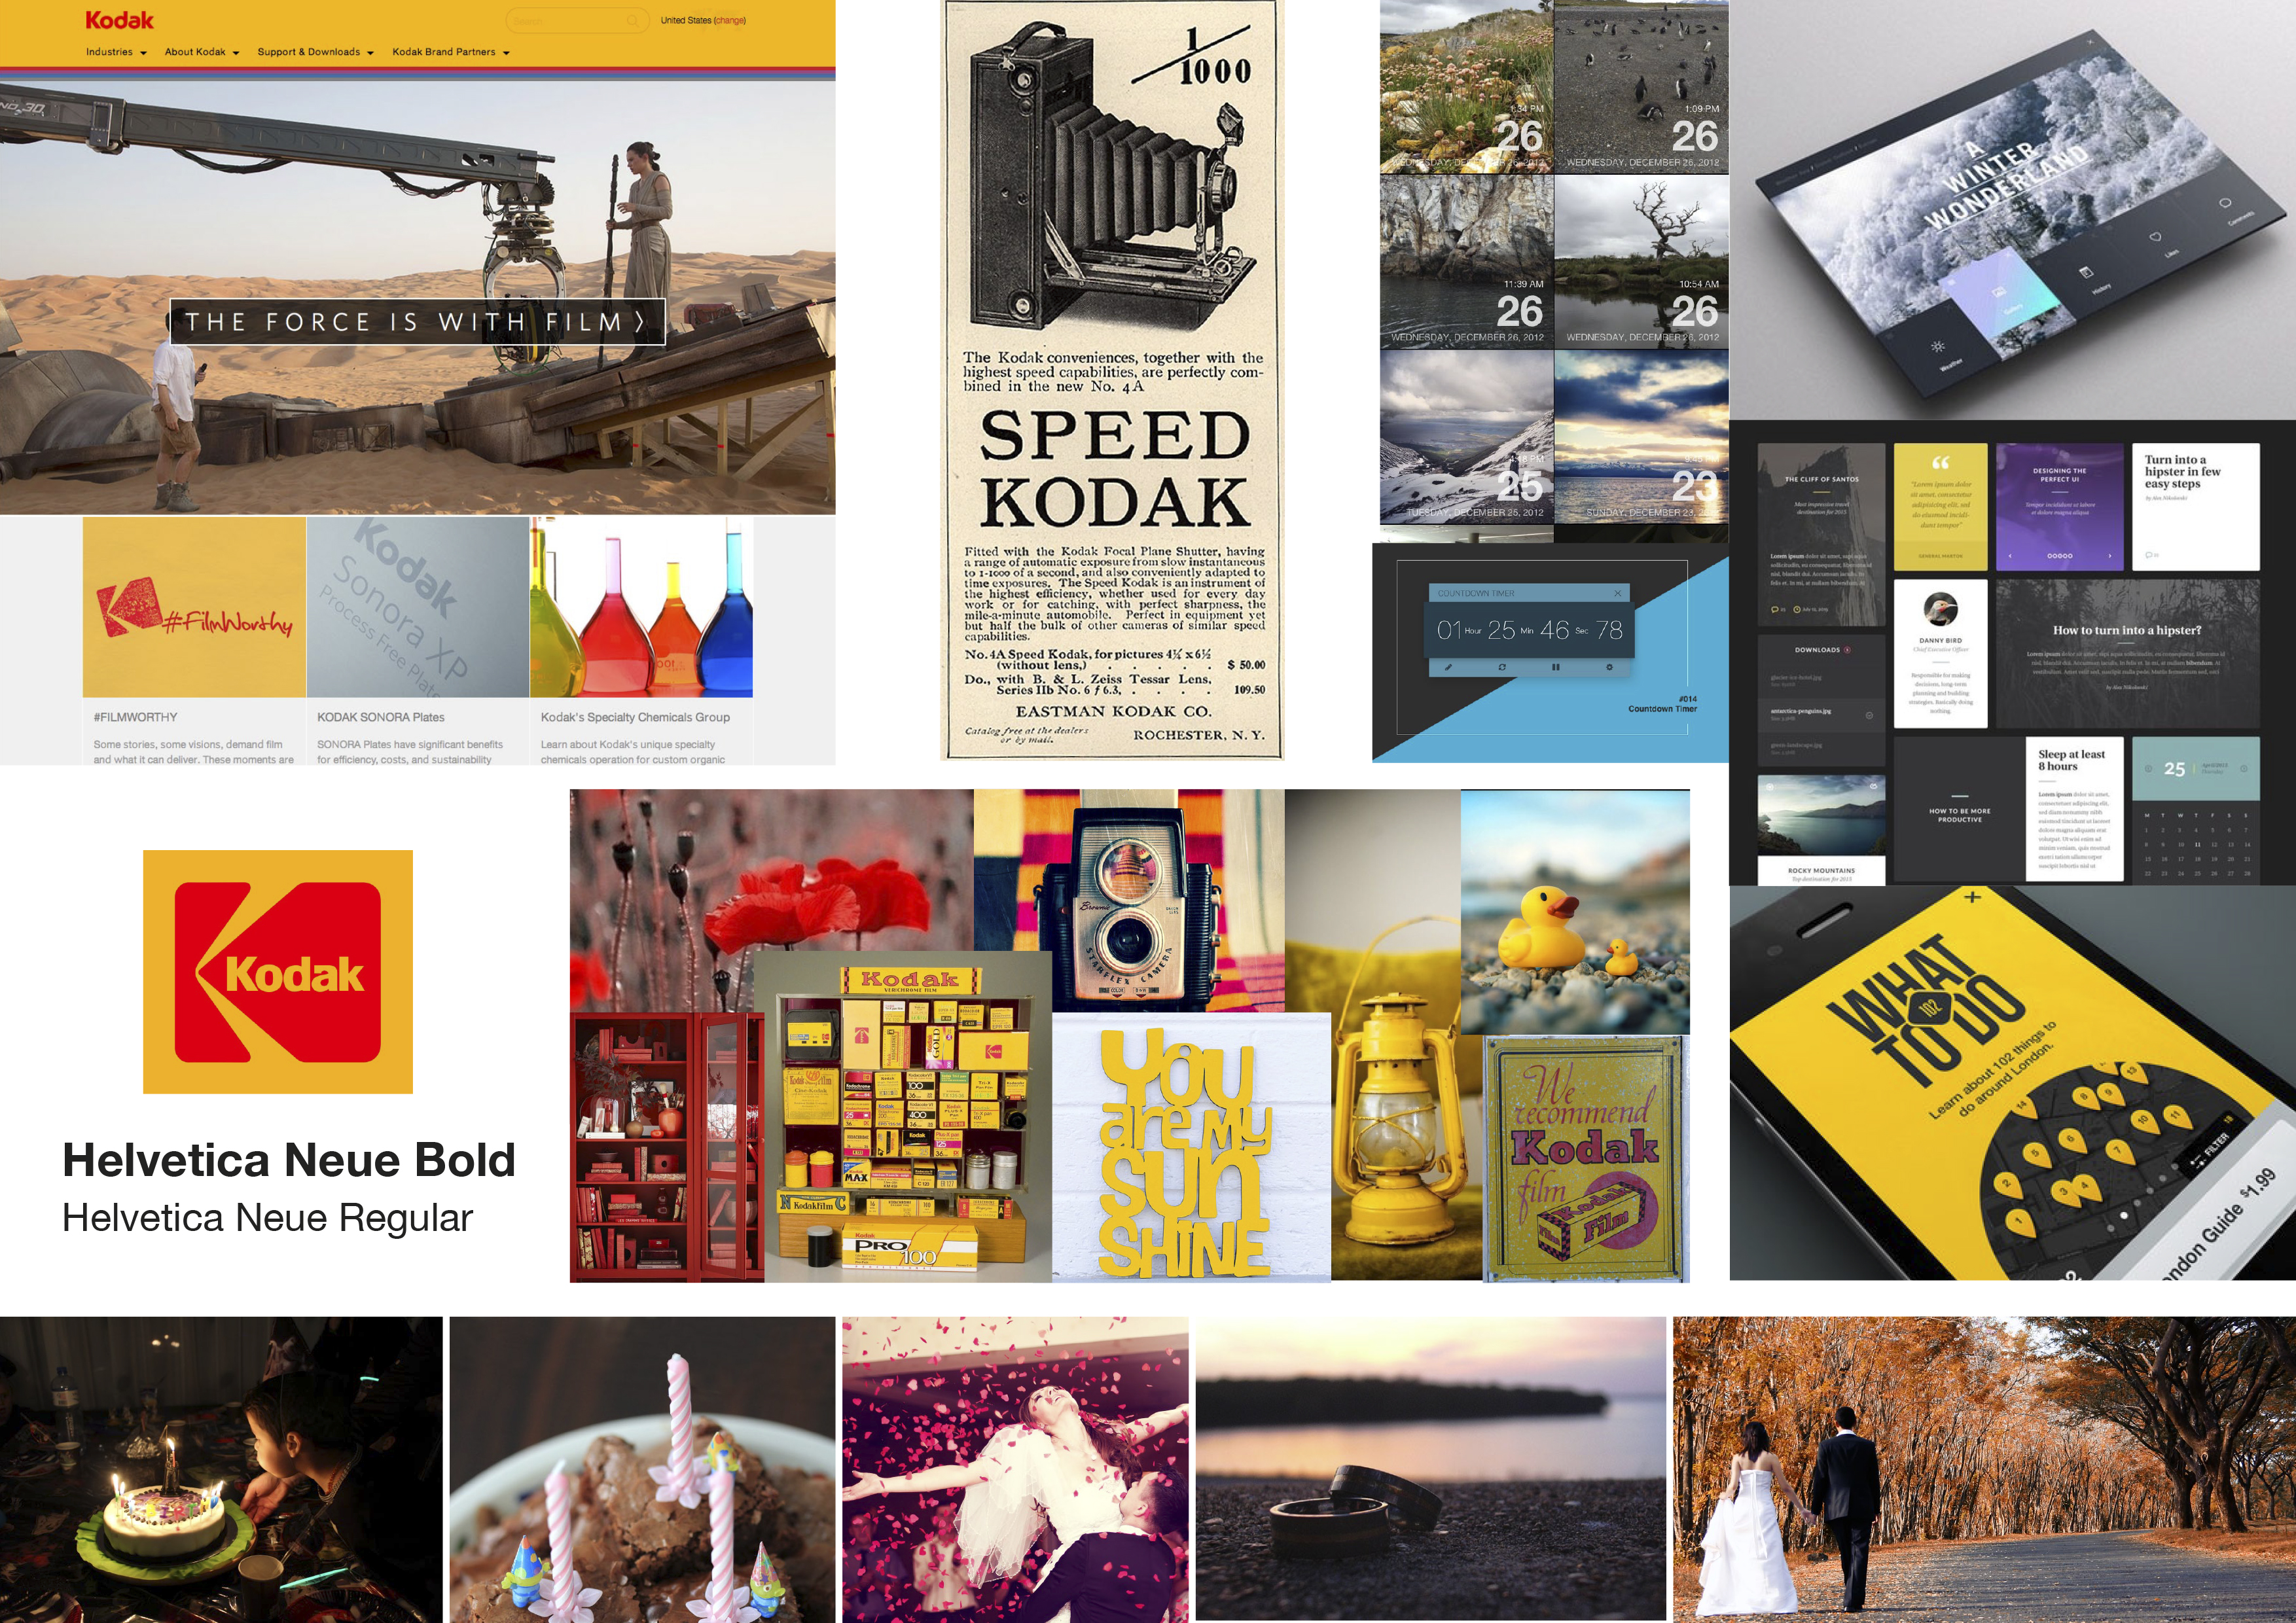
The last step was the interface visual design. We chose a photo company, Kodak, to use the colours in our design, and created first a moodboard.
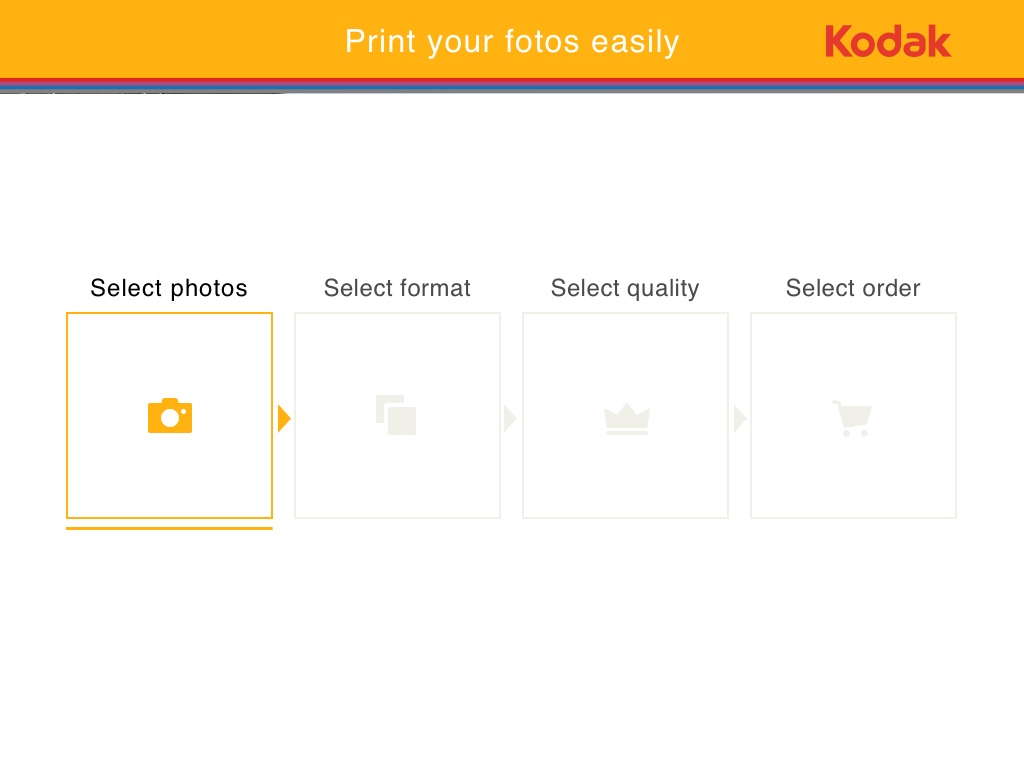
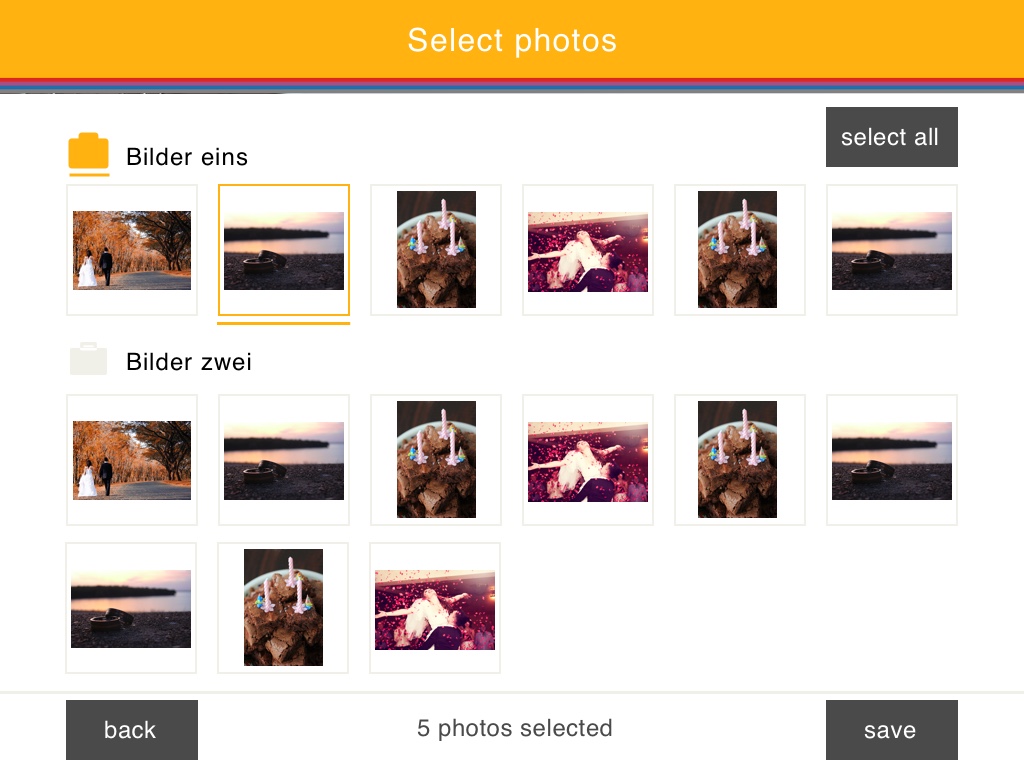
Finally every member of the team designed their version of the interface for two of the screens («Home» and «Select Photos»), and after a get-together, we chose one of the versions as our final interface design.
This was my design:
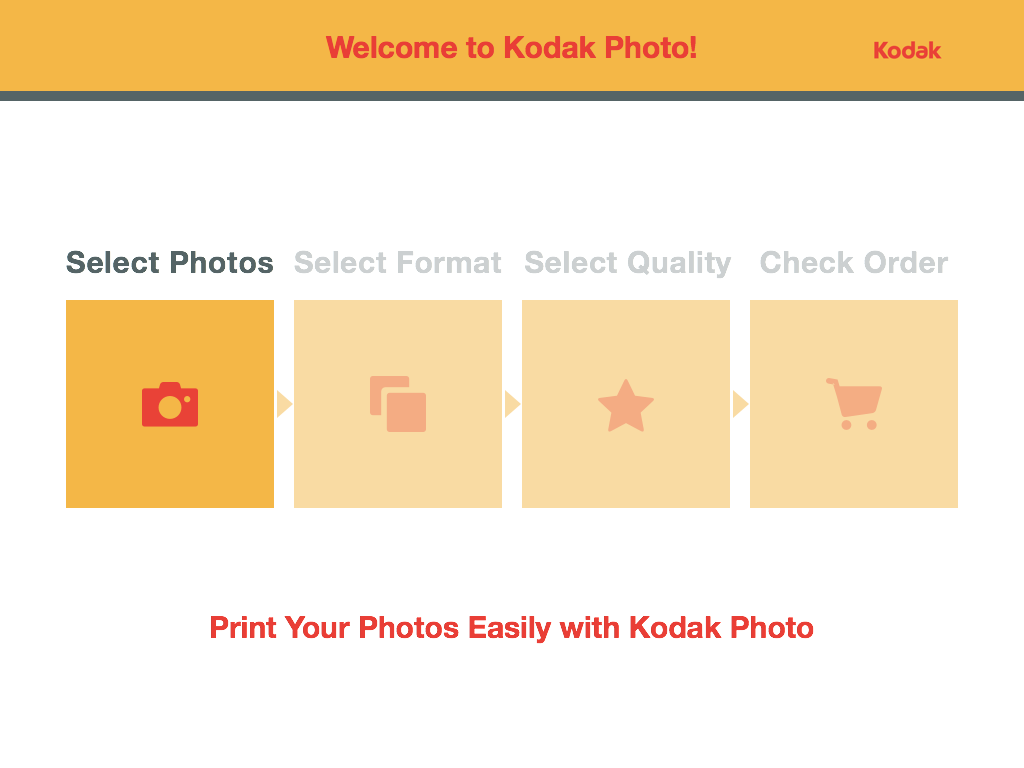
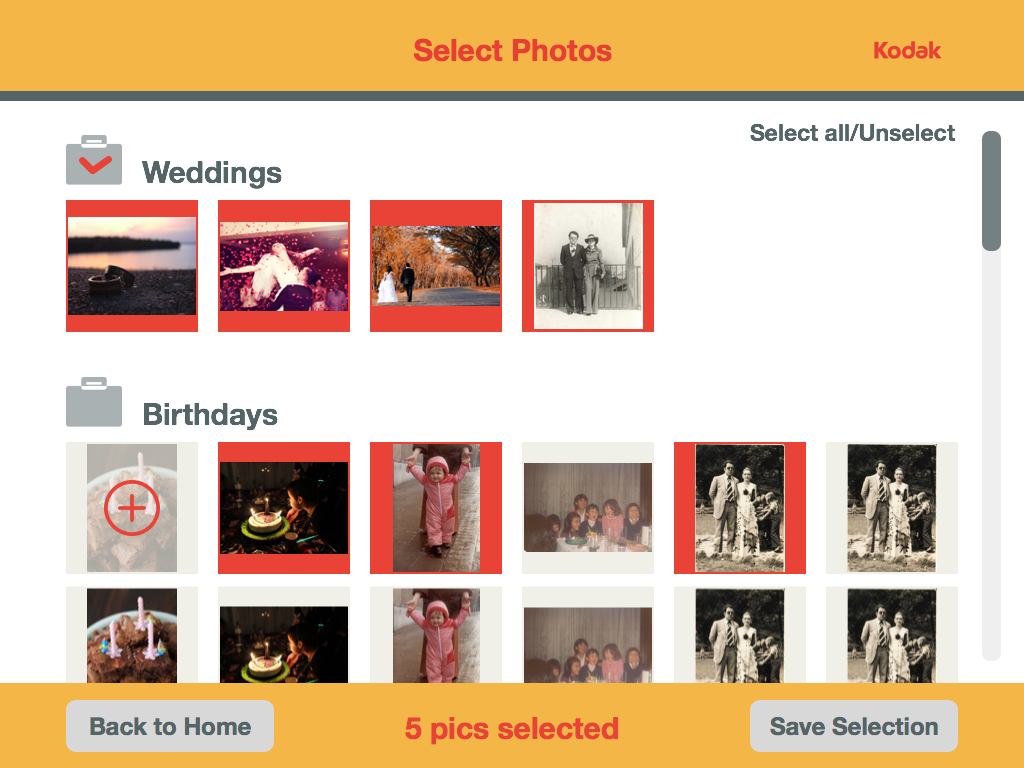
And this is the final interface design: